Have a rough plan for the size, shape, and location of the garden— but be willing to change it as you start digging. You might encounter unexpected tree roots and unmovable stones along the way. Why destroy the root, or force out the stone, when you can change the shape of the bed to work around it? Respond to the land rather than imposing an idea onto it. Organic shapes usually look better than grids.
Part 1: Weed
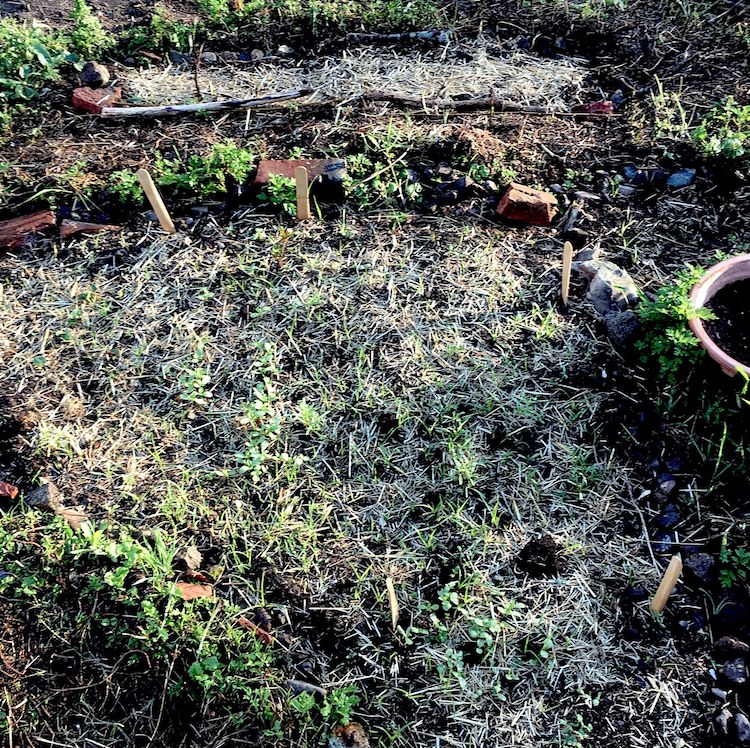
Decide where you want your first flower bed. Start smallish so you don’t get overwhelmed.
Rip up weeds by hand, and then use a trowel, shovel, or rake to get to the bottom of the roots. You may need to use a hoe for a big area or tough roots.
Note: wherever you put this pile of dirt and weeds you remove, it will inhibit the growth of the grass beneath it. So it’s a good way to mark out the spot where you want to dig your next flower bed. If you’re not digging another flower bed, then put the pile in a bucket or wheelbarrow so it won’t mess up the lawn.
Part 2: Turn the Soil
The goal now is to turn over the soil, to get to the richer, less depleted parts underneath.
Use a hoe or a trowel or your hands to dig, sift, and work the soil.
Pull out stones and hard clods of earth. (You can put the stones aside and use them later to create borders.)
Part 3: Border
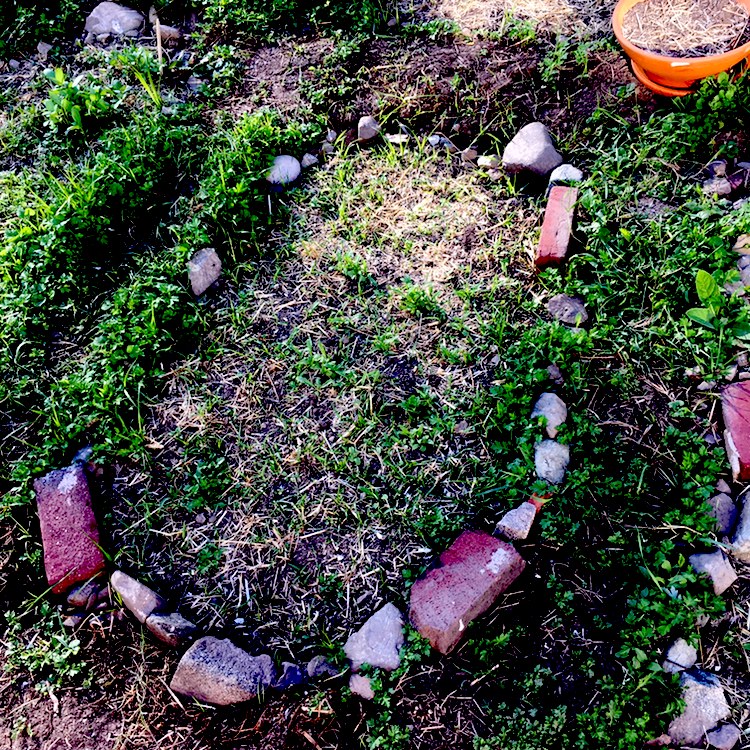
Now it should be clear if the shape of the bed works in the land. No big tree roots or stones? Great.
Define the edge of the bed with a trench and form some sort of border.
You can use the stones you found while turning the soil for a natural look.
Part 4: Soil
Turn the soil again in case you missed some big clods and roots the first time around.
One more step before planting: you should improve the quality of your soil.
Next step: 3. Nourish the Soil
Back to From the Garden
