It’s very worthwhile to start your own composting system, and the compost doesn’t have to be unsightly or smelly.
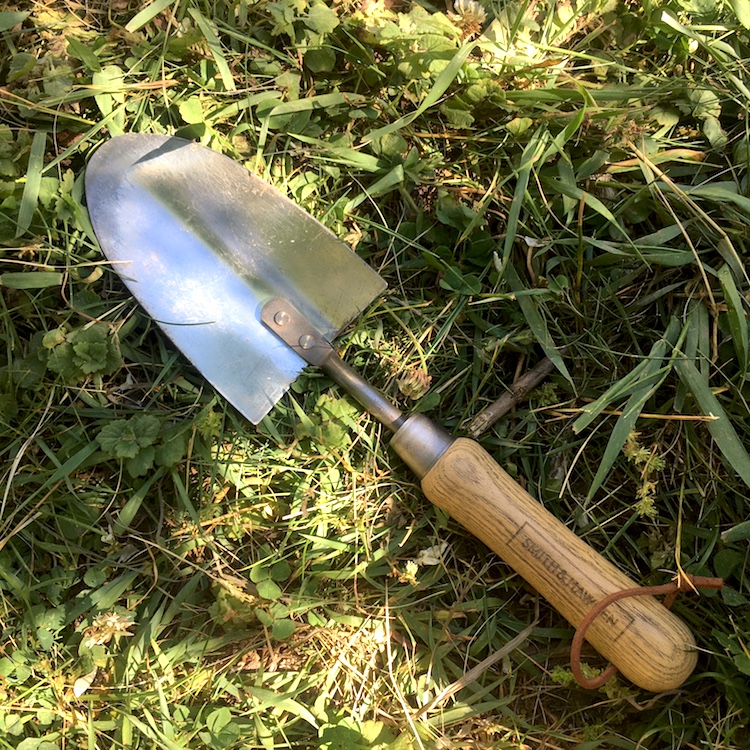
Step 1: Compost Prep: Inside
Small closed container in the kitchen.
Line the inside with a bit of paper bag. When you dump the compost outside, the lining can go in with it.
Do put in: fruit and veggie scraps; eggshells; teabags (if the bag material is compostable); coffee grinds; garden clippings (but not weeds with roots)
Don’t put in: meat, fish, dairy— anything that would attract raccoons etc.
(When you empty the compost container, leave it out open in the sun for a while to air out. You won’t have to wash it out as often.)
Step 2: Compost Prep: Outside
There are several systems people use; I think the best looking system by far is a naturally-enclosed trench. It keeps most of the compost out of sight, especially if you let plants grow up around the outside of it. When you do get close enough to it to see it, it just looks like another garden element- not like a big, obtrusive, unsightly pile or crate.
You don’t need to buy or build a container. Just pick a corner of the garden and dig a large hole. Use sticks and small branches to form some structure within the hole (they’ll decompose eventually, but will hold the shape for a while)- as well as a natural visual border around the top.
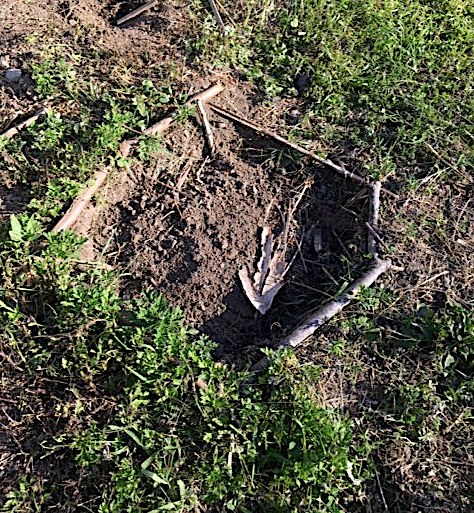
Use large sticks and branches to form some structure inside the hole, as well as a natural, unobtrusive but visible border around the top.
Line the bottom of the hole with a solid layer of twigs, sticks, branches to form the base.
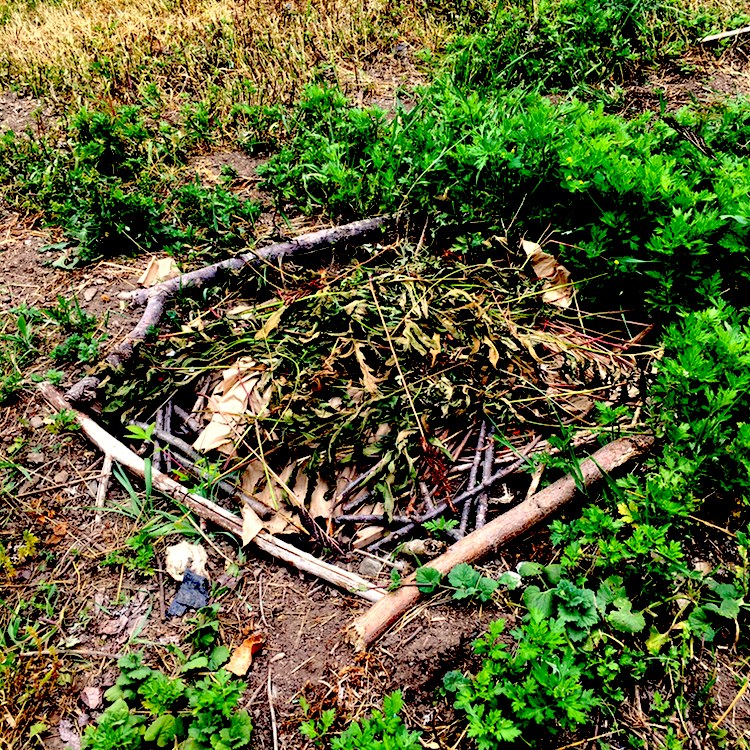
Then start adding your kitchen waste compost- as well as leaves and grass clippings from the garden. (Nothing with roots, which will grow in the pile.)
Cover it over with soil.
Whenever you add “wet” materials like kitchen waste and leaves, also add “dry” materials like twigs and soil.
Water it. Keep it damp but not soaked.
The compost trench should never smell bad; if it does, you just need to cover the “wet” material with more “dry” material.
Every once in a while, turn the pile to aerate it. (This will keep it decomposing quickly.)
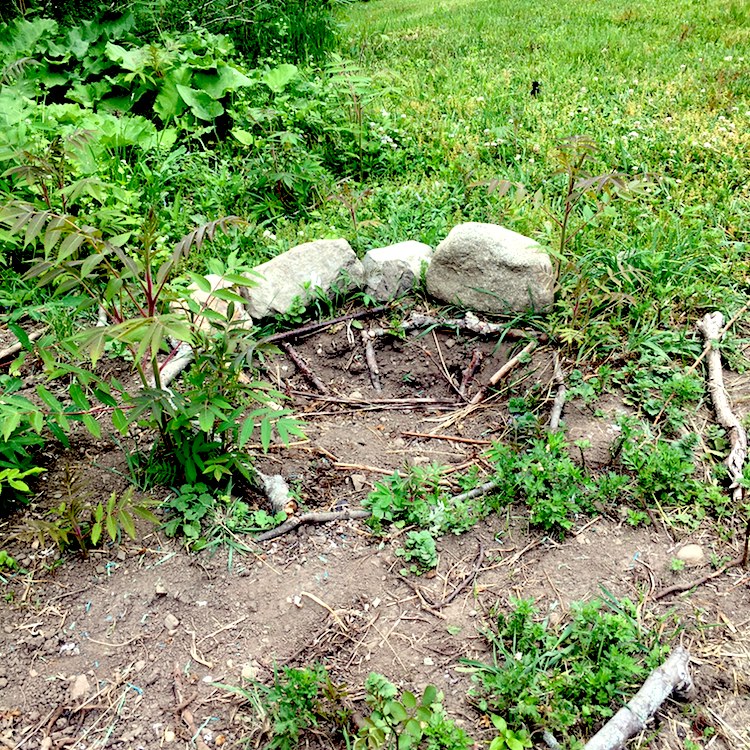
If you have the space for it, you may want to have a three trench system:
One hole for new compost; one for in-process compost; one for finished (ready to use) compost.
Step 3: Using the Compost
When it’s ready, it will be cool, dry, and dark. Like nice potting soil.
Don’t use it while it’s still hot; it will burn your plants.
Spread it on your flower beds to improve the soil quality.
